Agronomy •  4/16/2021

10 Tips for Making the Switch to No-Till

Something went wrong. Please try again later...

From Pioneer Agronomy Sciences
  • Adoption of conservation cropping practices, such as no-till, continues to increase.
  • The development of carbon markets may incentivize farmers to expand the implementation of this farming practice.
  • Here are 10 tips to keep in mind for a successful no-till cropping system.

1. Prepare for the Long Haul

  • It is difficult to quickly correct the condition of the soil to alleviate drainage issues, compaction, or very low soil fertility once a no-till cropping system is established.
  • Consider addressing these issues before implementing no-till.

2. Manage Crop Residue at Harvest

  • The crop residue in a no-till cropping system will protect the soil from erosion, heat, and excessive evaporation of moisture in the seed zone in areas with limited rainfall.
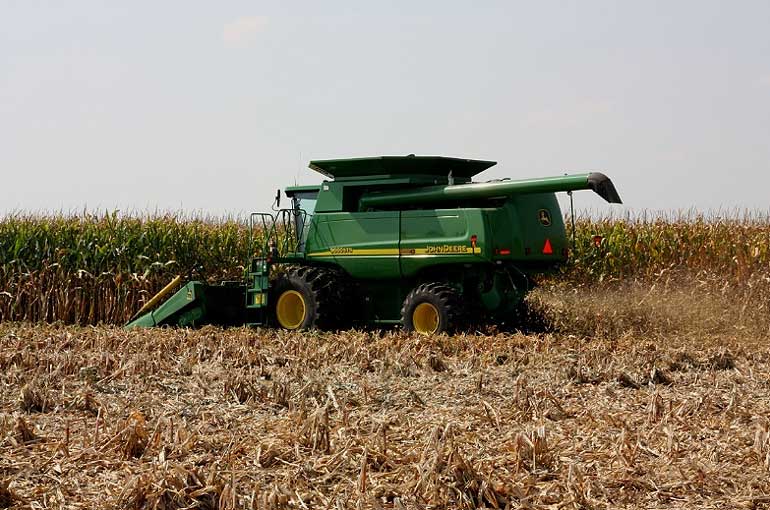
  • Spread crop residue behind the combine evenly across the entire harvest width of the combine header.
  • This will help ensure uniform seed zone moisture and soil temperature for the succeeding crop. 
  • It also makes it easier to adjust the planter row units to achieve a uniform stand if all planter units are encountering the same amount of residue.

Photo - Field operation - Harvest - green combine

3. Adjust Soil Fertility Management

  • Consider nutrient and soil fertility options such as starter fertilizer containing nitrogen and phosphorous in corn to give seedlings a boost when soil temperatures remain cooler under the crop residue.
  • Banding of fertilizer has frequently shown a benefit compared to broadcast applications in no-till.

4. Select the Right Hybrids or Varieties

  • Consider yield potential and adaptability for the local expected environment.
  • Pioneer® brand corn products with higher stress emergence scores establish more consistent, uniform stands, on average, than ones with lower scores. Pioneer brand corn products with highly suitable (HS) and suitable (S) high-residue suitability ratings produced higher and more uniform stands in high-residue locations than hybrids with a poorly suited (X) rating.
  • Select for adequate levels of disease tolerance since previous crop residue can harbor inoculum of diseases such as gray leaf spot, northern corn leaf blight, Goss’s wilt, tar spot, etc.
  • Treatment with an insecticide or fungicide during the growing season may be warranted with moderate to high insect or disease pressure.

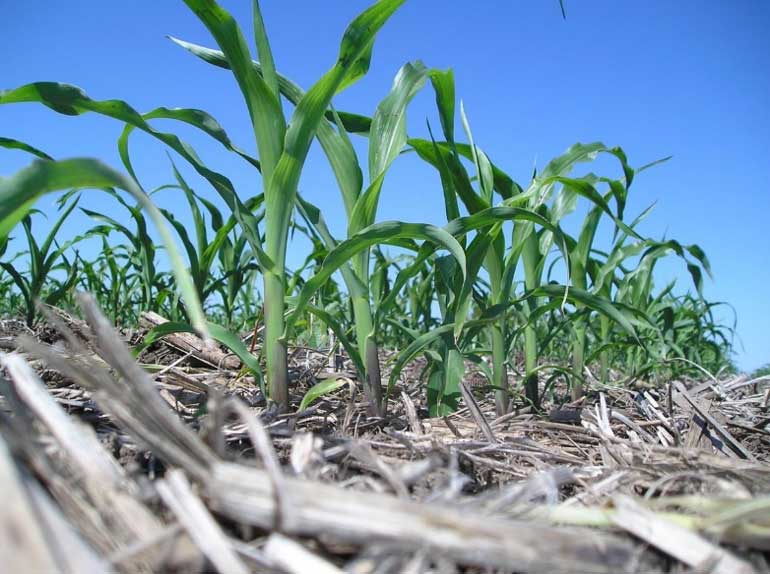
Photo - Young corn growing in crop residue

5. Use a Premium Seed Treatment

  • Use a premium seed treatment, such as LumiGEN® seed treatments, to control the broad spectrum of seedling-attacking pathogens and insects that may be present during germination and stand establishment of the crop.

6. Step Up Your Weed Management Plan

  • Use a layered weed control plan with multiple modes of action and application timings to reliably control weeds before they begin to compete with the crop.
  • Proactively controlling weeds before they emerge or when they are small often achieves better results than attempting to control bigger weeds.
  • Review Corteva Weed Solutions for more information.

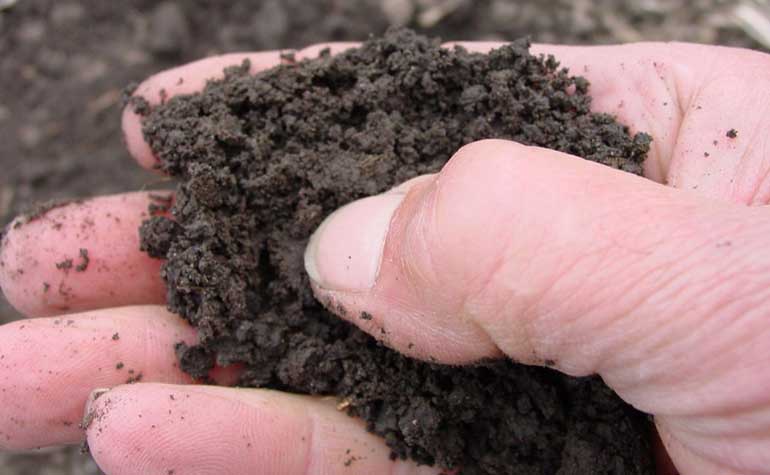
Photo - Hand holding soil - testing for moisture and compaction

7. Plant When Field Conditions are Fit

  • A primary objective during field operations should be to minimize compaction.
  • Do not perform field operations, including planting, if the field is too wet. Under wet conditions, sidewall smear of the seed slot may occur, preventing good root development.

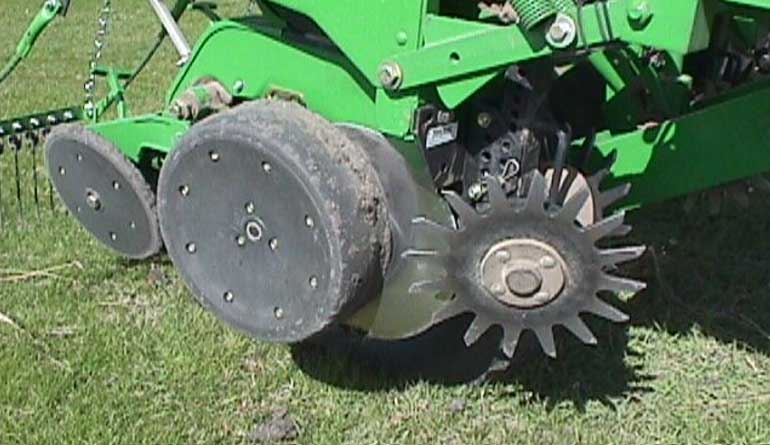
Photo - Field equipment - planter wheel closeup

8. Set the Planter to Manage Residue

  • Seed to soil contact is critical for proper germination and uniform seedling emergence. 
  • Ensure openers are sharp to cut the residue. Dull openers will ‘hairpin’ residue, resulting in poor seed to soil contact.
  • If row cleaners are used, set them to brush heavy residue aside; they should not move soil.

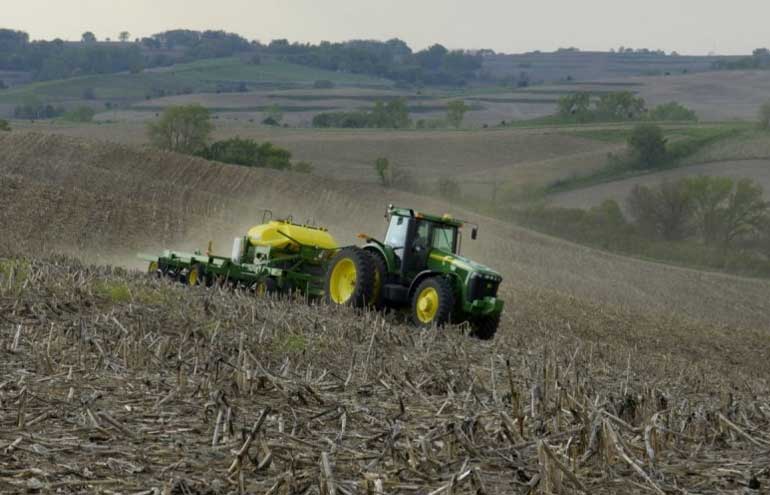
Photo - Field operation - tractor on slope

9. Maintain Uniform Planting Depth

  • Ensure seeds are placed at a uniform depth of 2 inches.
  • This may require a reduction of planter speed if field conditions are rough enough to cause the planter row units to bounce. 
  • Make sure the planter is running level at planting speeds in the field. 
  • Down pressure of the row units may need to be increased to cut through the residue, especially when soil conditions are hard or dry. Make sure down pressure is not excessive on wetter soils creating compaction under the planter or sidewall compaction of the seed slot. Check this frequently as field conditions may change over the course of the day.

10. Ensure Proper Seed Slot Closure

  • Closing attachments on the planter should close and firm the seed trench around the seed, providing good moisture in the seed zone and good seed to soil contact.
  • Be sure the top of the seed slot is not the only part of the trench being pinched shut, leaving an air pocket around the seed. 
  • Be sure dry loose soil is not falling into the seed slot before closing.

References

Photo - closeup - hand holding soybean plant

Earn on Your Acres When You Reduce Tillage

Sell carbon credits on your terms, simply and for a fair price, with help from your trusted Corteva Agriscience or Pioneer advisor.

Get Started

Considering Strip-Till Farming?

We’ve got 10 tips to keep in mind if you’re thinking of switching to strip-till.

See tips

Logo - LumiGEN seed treatment


The foregoing is provided for informational use only. Please contact your Pioneer sales professional for information and suggestions specific to your operation. Product performance is variable and depends on many factors such as moisture and heat stress, soil type, management practices and environmental stress as well as disease and pest pressures. Individual results may vary. Pioneer® brand products are provided subject to the terms and conditions of purchase which are part of the labeling and purchase documents.